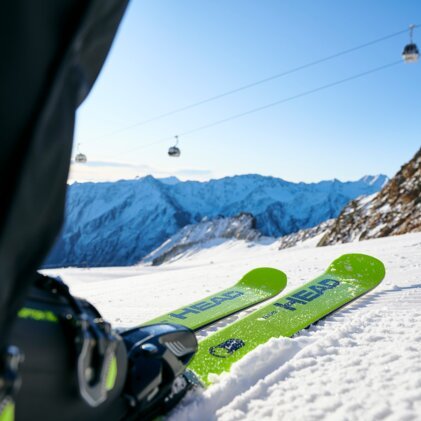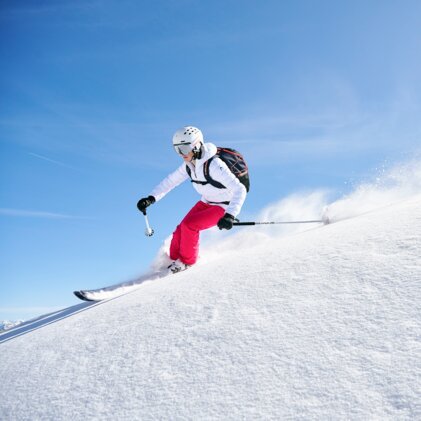
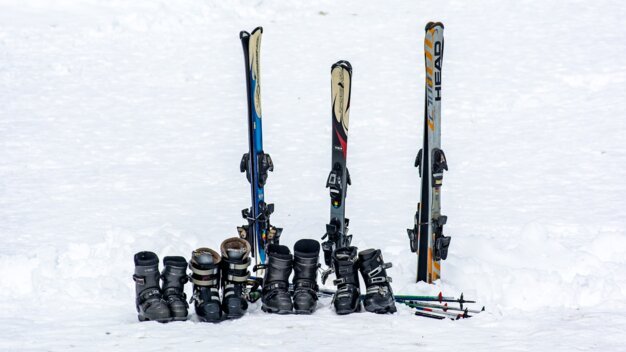
Some things should keep their new shine for as long as possible: shoes, cars and ski equipment, for example. Not everything looks good with a patina. To keep your skis in top condition after several descents, they need regular care. The magic word here is 'ski tuning'! This involves repairing the bases, waxing them and sharpening the edges.
Why is a ski service so important?
Deburring edges, filing and sanding, applying ski wax or renewing the base: For first timers it is not at all so easy to maintain the skis correctly. Parts of the service, for example the waxing, can be done by skiers on their own. But we strongly advise against carrying out other maintenance duties by yourself, as the expensive skis can be quickly damaged by improper treatment. Keep your fingers away from rusty edges! It would be a shame if your equipment suffered more damage during the care process than it would benefit from it.
In our INTERSPORT Rent shops we have high-quality machines for the perfect tuning. So that the ski service is not only faster, but also completed professionally. If you love your winter sports equipment, you should therefore take it at least once in the season to the expert. You benefit from:
- Repairs to damage in the base: prevent the ski core from suffering further defects
- New wax: more efficient gliding properties
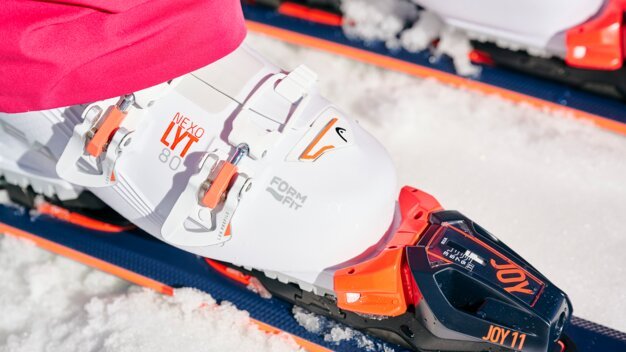
- Sharp edges: for better grip on icy slopes
- Structural base grinds: depending on which base, structure and grind you choose, the frictional resistance changes for different snow and temperature conditions
Did you know? The right time for a ski service is at the end of the season, after the last rides. Why is that? If the base is left untreated immediately after skiing, it can become porous. The wax, which is applied at the end of the season, keeps it elastic. And: sharpened and treated edges rust less. A ski service therefore increases the lifespan of your equipment.
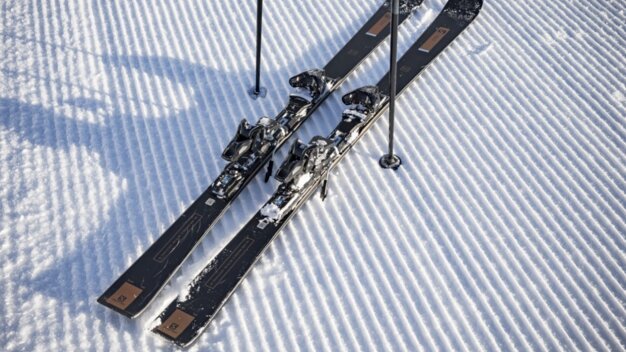
This is what a ski service from professional looks like:
Racing ski service from INTERSPORT Rent
- Repair rough scratches by hand and remove wax residues
- Melt high-quality base compound over the entire surface
- Adjust the covering edges
- Sharpen edges from a 90 to 86 angle
- Upon request extra sharp edges
- High-quality structure grinding on the base
- Wax and polish
Carry out ski and edge tuning yourself - what you keep in mind
To get the most out of your equipment for a long time, you can carry out some steps of the maintenance routine by yourself. This not only increases your own safety, but also ensures consistent performance. Depending on how intensively you use your equipment, a ski service may be necessary at the end of the season. You can carry out the following measures yourself:
- Remove dirt: Treat the ski with water and a gentle rinse. Advanced skiers often have a wax remover at home , which is suitable as an additional step. Always make sure that the ski equipment dries well after washing!
- Clean the binding : The plastic parts of a ski binding are particularly susceptible to becoming porous. Clean them gently with water! After drying you can lubricate the moving components with oil lightly.
- Damages to the surface: If your equipment has suffered slight damage, you can fix it with a repair kit. Popular for this are so-called repair candles, which are available in many colours, so that they match the surface. Important: This can only really be used to repair minor damages to the underside of your skis or snowboard; it will not restore any damages to the base itself.
- Ski waxing: Grand Finale in the self-made ski service is the waxing. At the latest now your skis or your snowboard should already be at room temperature after cleaning, because being pre-warmed they are easier to work on.
- Sand the edges: You can use a sidewall scraper to remove steel edge and excess material then using a file or grinder to sharpen the desired angle.
As a winter sports enthusiast, you should bear in mind that waxing should be done more than just at the beginning and end of the winter season. It works wonders even during the season!
Ski service instructions for at home: wax your skis yourself
First of all: Starting from scratch and without the needed tools does not work for ski waxing on your own. Some space in the basement or a garage would be ideal, but your creativity has no limits, as far as the location goes.
The right accessories for waxing your skis
If you want to professionally maintain your winter sports equipment yourself, you will need some basic products for your ski tuning. Below we show you which gear guarantees the necessary safety when working and promise success so that you can get back on the slopes quickly:
- Ski clamps for fixing the skis
- Universal wax
- Wax iron (alternative: use an old iron)
- Nylon or copper brush
- Plastic scraper blade
- Soft cloth
The right accessories not only guarantee you a satisfactory result and the desired performance in the terrain, but also ensure that the lifespan of your skis or snowboard is extended.
If you have any questions about the right products and how to use them, we look forward to seeing you in one of our shops near you. Our RENTertainers are ski tuning experts and can give you a tip or two.
Ski waxing in 9 steps
- Fix the ski with the base facing you.
- Remove dirt with a suitable brush. If you want to, you can clean off stubborn dust and dirt with sandpaper or an adhesive tape. Important: Please always use the brush only in riding direction (tips to tails). Meanwhile preheat the iron.
- Press the wax directly onto the hot iron, so that it liquefies and adheres to the iron. Meanwhile, hold it over the ski or snowboard underside, to distribute the material evenly on the base.
- Now quickly spread the wax with the hot iron. It should also be applied from tip to tail.
- Repeat this step two more times and increase the speed, so that the layer of wax underneath does not melt away.
- Now allow the fresh wax layer to dry, preferably for four hours (at least 30 minutes).
- Then remove the wax from the edges.
- Using the blade in your maintenance set, remove the hardened wax again from front to back. You do this until the entire material is removed.
- Finally, work the coating once more with the brush and wipe off the last residues wax with a cloth.
The freshly waxed, shiny equipment is ready! The base should now feel smooth again and make you want to go skiing! Our experts also recommend waxing the skis one last time before storing them over the summer. This is the best way to protect them from rust.
Frequently asked questions about ski tuning
What angle should I sharpen my skis
The right edge angle depends on your area of use. The sharper the angle, the higher the ski level:
- 89 degrees - suitable for children's skis and beginners
- 88 degrees - sporty skiers who appreciate dynamic skiing without the edges being too "snappy"
- 87 degrees - advanced skiers who want to make precise turns on icy slopes
- 86 < degree - for racers and professionals
What does ski tuning cost?
The cost of ski tuning depends on the package: At INTERSPORT Rent you will find offers ranging from Classic Service to Top Performance Service. Depending on the scope, the costs spanning from 10 to 50 euros.
When should you have your skis serviced?
The frequency of treatment depends on the intensity of use. If you only use your skis or snowboard occasionally on the slopes, you can usually get by with a service at the end of the season.
In the case of frequent use and/or possible damages to the base, you should do the ski service more often. In the event of a serious breakage, a service should be carried out immediately.
INTERSPORT Rent Tip
The RENTertainer recommends
If you are travelling with your equipment and therefore don't have the time or opportunity to do a ski service yourself, you can rely on the RENTertainers. The professionals at any of our rental shops throughout Europe are ready to help.
And if you need a pair of skis for the time in between, you'll find the right rental equipment in our stores. From classic carving models to freeride or cross-country skis, we have numerous models from well-known manufacturers.
Related articles
You may also be interested in: